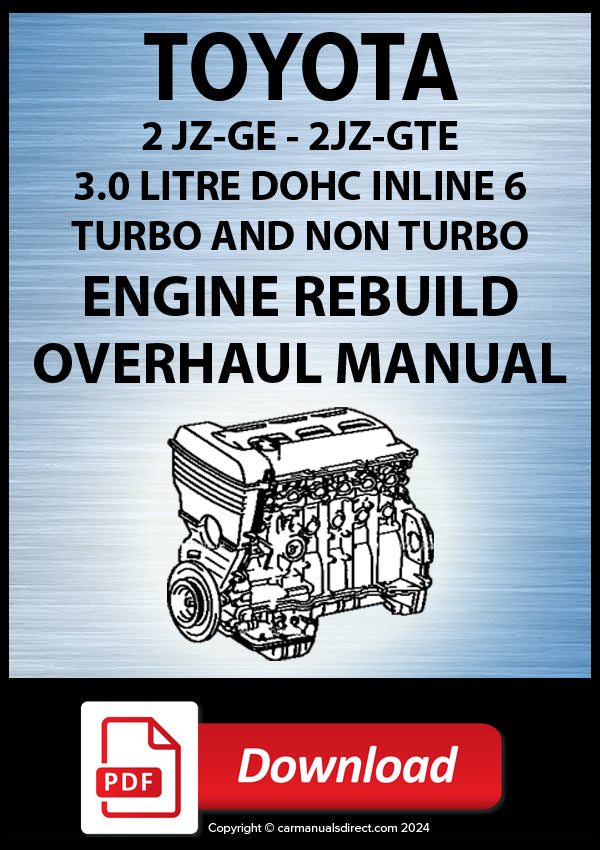
Toyota 2JZ-GE, 2JZ-GTE 3.0 Litre inline 6 Engine Rebuild Manual | PDF Download


Toyota 2JZ-GE and 2JZ-GTE Engine Rebuild Manual | PDF Download
Unlock the Power Within: Rebuilding Your Toyota 2JZ-GE and 2JZ-GTE Engine
For automotive enthusiasts and professional technicians alike, the Toyota 2JZ-GE and 2JZ-GTE engines are legendary. Known for their robust design, inherent reliability and immense potential for modification, these engines have powered some of Toyota's most iconic vehicles. Now, with the comprehensive Toyota 2JZ-GE and 2JZ-GTE Engine Rebuild Manual PDF Download, rebuilding and overhauling these powerplants is more accessible than ever.
This invaluable resource provides over 300 pages of meticulously detailed, easy-to-follow instructions designed to guide both home mechanics and seasoned professionals through every step of the rebuild process. Whether you're aiming to restore a classic Supra or enhance the performance of your Aristo, this manual is your key to unlocking the full potential of your 2JZ engine.
Comprehensive Coverage: From Diagnostics to Complete Overhaul
The manual doesn't just cover the basics; it delves deep into every aspect of engine maintenance and repair. Beginning with essential diagnostics, the guide covers:
-
CO/HC Inspection: Ensuring your engine complies with emission regulations through idle CO/HC checks.
-
Compression Check: Diagnosing potential issues like power loss, excessive oil consumption, and poor fuel economy by measuring compression pressure.
-
Valve Clearance: Inspecting and adjusting valve clearance with precision, including instructions on installing new adjusting shims when required.
-
Ignition Timing & Idle Speed: Precisely setting ignition timing and idle speed to factory specifications using an OBDII scan tool and timing light.
Disassembly, Reassembly, and Beyond
The manual truly shines when it comes to the intricate processes of disassembly, repair, and reassembly. Clear diagrams and step-by-step instructions cover critical components and procedures, including:
-
Timing Belt: Complete instructions for removing, inspecting, and replacing the timing belt, ensuring proper engine timing.
-
Cylinder Head Removal and Installation: With 79 detailed steps, the manual provides the confidence to remove, disassemble, inspect, repair, and reinstall the cylinder head.
-
Engine Removal and Installation: Safely remove and install the entire engine with clear diagrams and step-by-step guidance.
-
Engine Component Overhaul and Rebuild: Comprehensive instructions to disassemble, inspect, replace, and rebuild all engine block components, ensuring peak performance.
Addressing Key Engine Systems
Beyond the core engine components, the manual also offers detailed guidance on essential supporting systems:
-
Exhaust System: Identifies exhaust components and guides the installation of the Heated Oxygen Sensor.
-
Turbo Charger: For 2JZ-GTE engines, 82 easy-to-follow steps detail the removal, inspection, and replacement of the turbocharger.
-
Cooling System: Comprehensive troubleshooting and repair, including checking for leaks, replacing coolant, water pump, thermostat, cleaning or replacing the radiator, and maintaining electric fans.
-
Starter System: Complete procedures for removal, disassembly, inspection, replacement, reassembly, and testing.
-
Charging System: On-vehicle inspection and checks, followed by removal, disassembly, inspection, replacement, reassembly, and testing.
-
Ignition System: On-vehicle testing of high tension leads, spark plugs, and ignition coils. Includes removal and replacement procedures, as well as checks and replacement of Camshaft and Crankshaft Position Sensors.
Which Cars Utilize the 2JZ-GE and 2JZ-GTE?
The manual covers both the Toyota 2JZ-GE Engine and the Toyota 2JZ-GTE Engine. These engines have powered a wide range of iconic Toyota and Lexus vehicles:
2JZ-GE Applications:
- Toyota Altezza AS300 / Lexus IS300
- Toyota Aristo / Lexus GS300
-
Toyota Crown / Crown Majesta
-
Toyota Mark II / Chaser / Cresta
-
Toyota Origin / Progress / Soarer / Lexus SC300
-
Toyota Supra
2JZ-GTE Applications:
-
Toyota Aristo 3.0V / V300
-
Toyota Supra RZ/Turbo
A Must-Have Resource
The Toyota 2JZ-GE and 2JZ-GTE Engine Rebuild Manual PDF Download is more than just a set of instructions; it's an investment in the longevity and performance of your engine. With its comprehensive coverage, clear diagrams, and step-by-step guidance, this manual empowers you to tackle any rebuild or overhaul project with confidence. Whether you're a seasoned mechanic or a dedicated DIY enthusiast, this resource is essential for anyone looking to unlock the full potential of their 2JZ engine.
File Format: PDF
Language: English
Print: Print the complete manual or just the pages you require
Bookmarked: Bookmarked for easy navigation
Requirements: We recommend using Adobe PDF Reader for best results
Device: We recommend downloading to a PC or Laptop or visit our Download Help Page for further information regarding Smart Devices
Images are Copyright©Car Manuals Direct and are used for promotional purposes only.
Copyright©Car Manuals Direct 2018